Chat Widget
Setup & Installation
You can create a Chat Widget and add this to your website, which integrates directly back into your app - so you can see all your conversations in one place! Each contact and conversation will be captured in the Conversations Tab.
Be sure you have purchased a phone number and completed the required A2P registration
in the sub-account in order for the SMS replies to be sent. For more information, please read here.
To get setup, head over to the left-hand side navigation bar:
Sites >
Chat Widget >
Go through the various on-screen prompts to configure the widget as you wish >
Chat Bubble
Chat Type
Widget Window
Acknowledgement Settings
A preview will appear on the right-hand side of the screen so you can see how it will look to customers.
Don’t forget to press ‘Save’.
When ready, click on ‘< > Get Code’ - copy the code and send this to your website developer to get it onto your website.
Chat Widget Messaging
You can view these conversations by heading over to the left-hand side navigation bar:
Conversations >
Each new conversation will appear on the left-hand side of the page, under the contacts name. >
You can use the filters along the top change between conversation types:

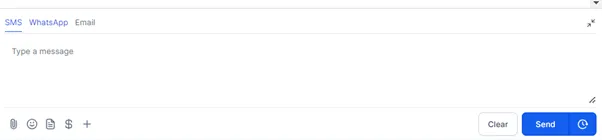
You can simply reply to the contact from the same screen using the messaging bubble.
Depending on the accounts you have connected, and the contact details you on the system, different options will appear for which platform you wish to respond via (email, SMS, IG or FB)
You can also message a contact via these platforms by heading over to the left-hand side navigation bar:
Contacts >
Open the Contact Record >
In the Conversations window, select the platform you wish to use >
Type your message and press send